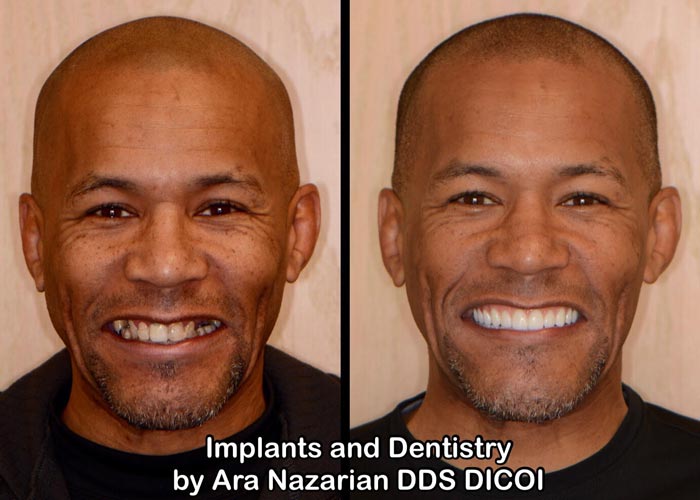
by Ara Nazarian DDS DICOI
Today, we are finding that more and more patients are presenting to the dental practice seeking tooth replacement with dental implants.
The need for dental implants usually results from teeth that are severely decayed, vertically fractured, or periodontally involved.
When these patients present to your practice requiring tooth extraction, then there is full control of atraumatically extracting the tooth and preserving the ridge with bone augmentation. However, when a patient presents to your practice with the tooth already removed, the edentulous area may or may not be sufficient for a tooth implant depending on if the previous dental provider grafted the area. Also, it may be that the area was grafted; however, several years had already passed without further treatment leading to ridge resorption.
Dental Implant Placement Information
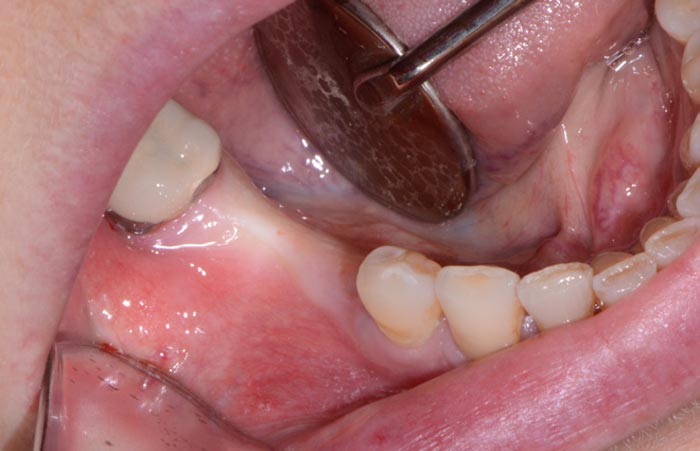
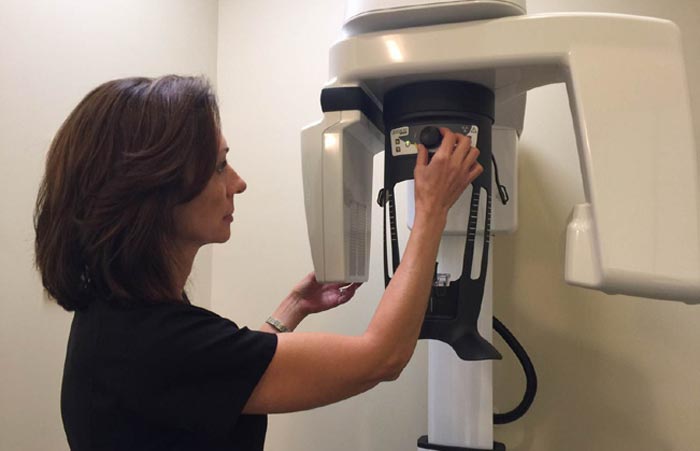
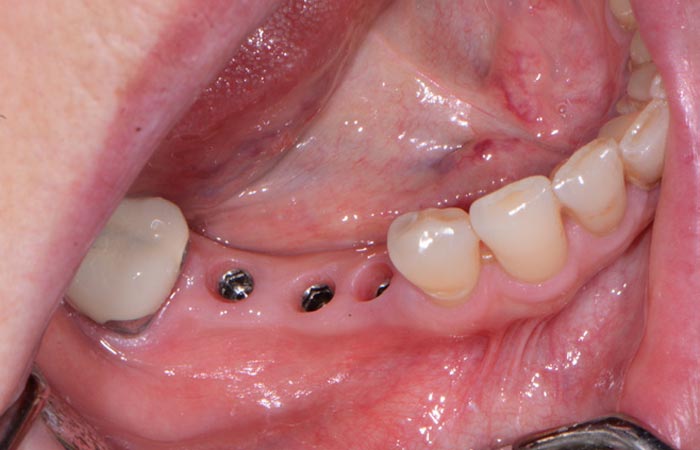
A patient presented to my practice wanting to replace missing teeth with dental implants in the areas of #28, #29, and #30 (Figure 1). According to the patient, these teeth were extracted a few years prior without any form of socket preservation thus resulting to a deficient edentulous ridge. In order to accurately assess the area for bone height and width, as well as identify any crucial anatomical landmarks, a CBCT would be utilized. Using the CS 8100 (Carestream Dental) (Figure 2), the narrow ridge was scanned to see if there was adequate bone.
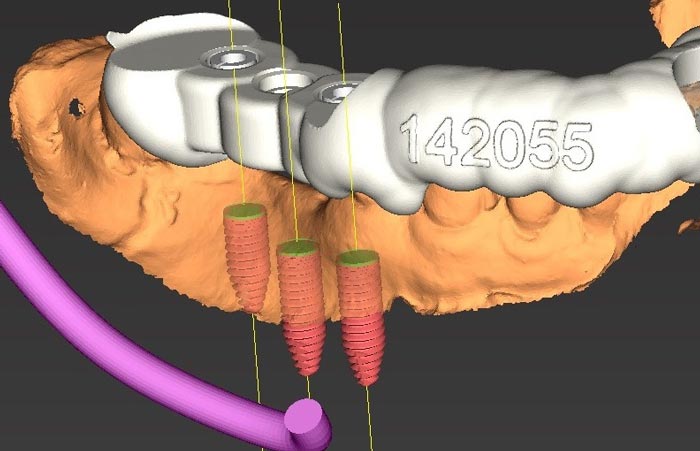
Once the CBCT scan was achieved, a treatment plan (Figure 3) was created by 3DDX (3D Diagnostix) where the edentulous ridge would be restored with three dental implants in addition to the placement of grafting material. A blend of cortical mineralized and demineralized bone grafting material would be used in any residual areas around the dental implants.
Financing options using a third-party payment option (Lending Club) were discussed with the patient. This discussion was a very important part of facilitating acceptance of her care, since it made the cost of treatment much more feasible.
Once the treatment plan was presented to the patient and accepted, the fabrication of a tooth borne pilot drill surgical guide was initiated and completed by 3DDX (3D Diagnostix) within a short amount of time. The surgical guide was tried on to confirm it was completely seated onto the supporting teeth and ensure there was no movement upon any pressure. On the contralateral side, where the surgical guide did not extend, a Logibloc (Common Sense Dental Products) bite block was positioned. Its unique design stabilizes and comfortably supports while allowing you unrestricted visual and physical access to the working area.
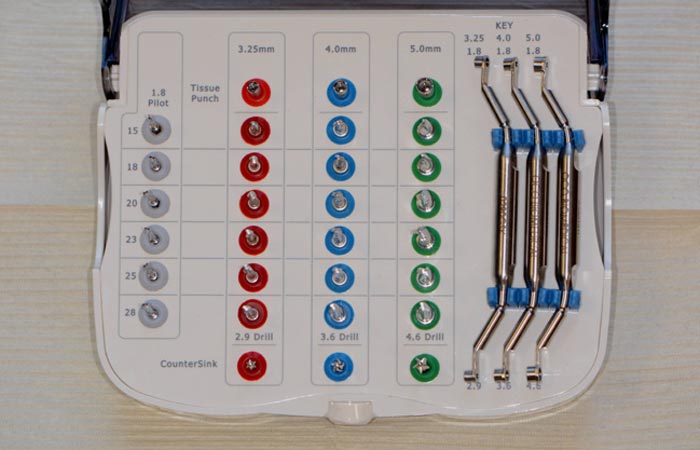
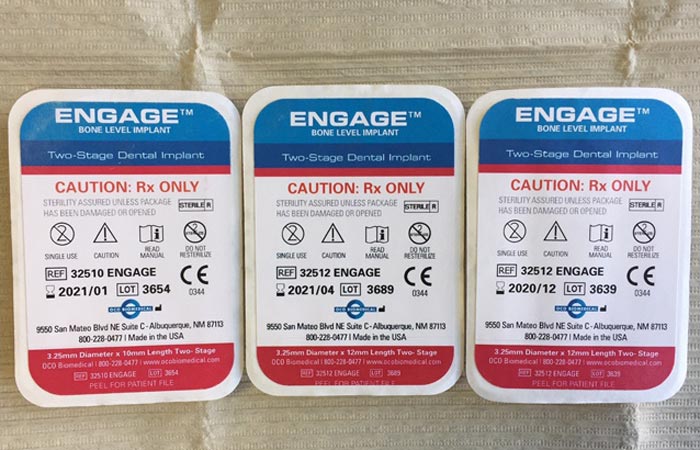
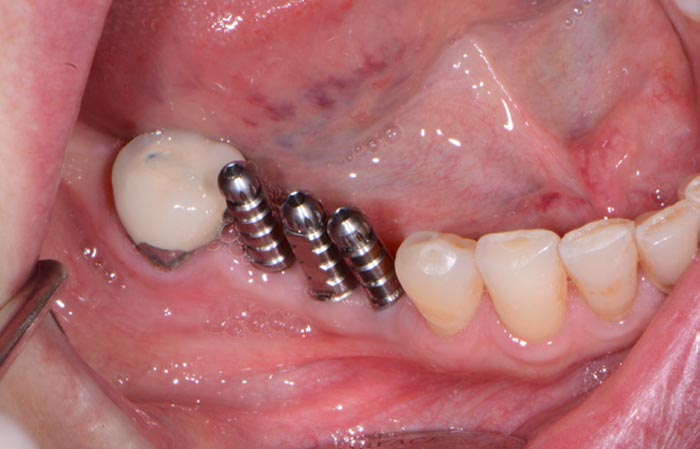
With a simplified drilling protocol using a guided surgical kit (OCO Biomedical) (Figure 4), the osteotomies were prepared using the AEU7000 Surgical Motor (Aseptico) and handpiece with copious amounts of sterile irrigation. Once the osteotomies were complete, an implant driver was used to place three Engage (OCO Biomedical) dental implants (Figure 5) precisely into the ridge until increased torque was necessary. The ratchet wrench was then connected to the adapter and the implants torqued to final depths reaching a torque level of about 40-50Ncm.
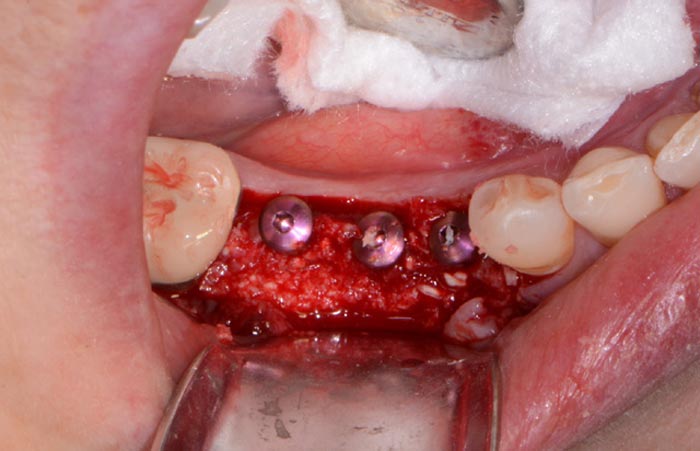
Any residual areas around the dental implants were grafted with a cortical mineralized and demineralized bone grafting material (Goldendent) to optimize the area (Figure 6). Once a resorbable membrane (Goldendent) was inserted and positioned, primary closure was achieved by suturing the tissue with chromic gut absorbable suture (Look).
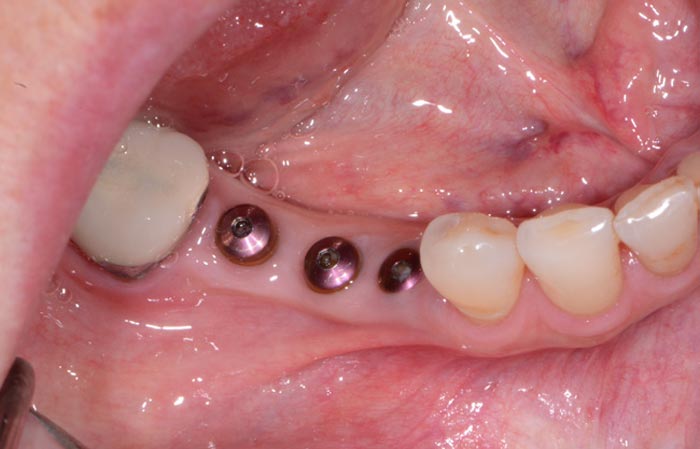
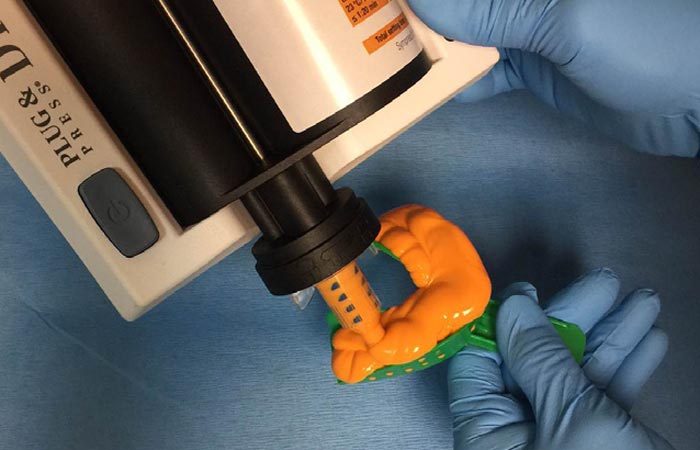
Upon healing four months later, the soft tissue and bone surrounding the dental implants were very healthy (Figure 7 & 8), so the implants ISQ (Implant Stability Quotient) values were tested with an Osstell unit. Since the dental implants had a high reading indicating osseointegration, impression posts were inserted (Figure 9) and a full arch impression was taken using a polyvinylsiloxane light/tray material (Panasil, Kettenbach) (Figure 10). From these impressions, final abutment and Zenostar (Ivoclar Vivadent) crown restorations were fabricated.
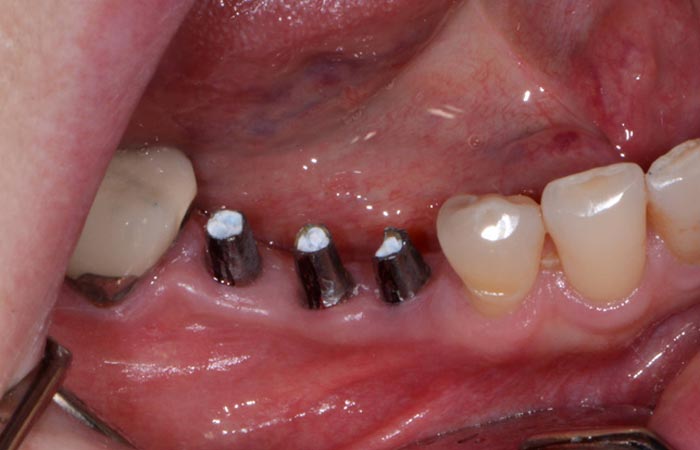
Upon delivery from the dental lab (Arrowhead Dental Lab), the definitive abutment and crown restorations were tried in and radiographs taken to ensure complete seating. Once confirmed, the abutments were torqued into place (Figure 11) and the splinted crown restorations were seated with Premier Implant Cement (Premier) (Figure 12). This cement is a non-eugenol resin cement that features a unique, 2-stage cure that makes seating the restoration and removing excess cement quick and easy. The rigid final set and low solubility in oral fluids provide an excellent marginal seal and superior retention.
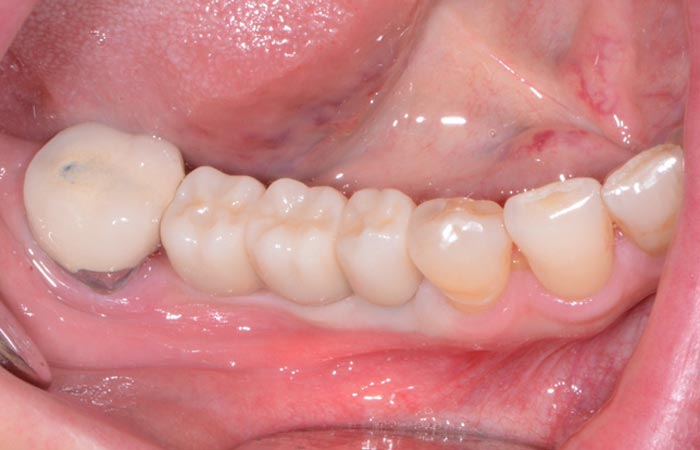
With proper planning, placement, and restoration, a dental provider may predictably restore a patient’s smile to proper form and function. In today’s practice, it is essential to have the appropriate skills, technology, and dental materials to accurately deliver implant treatment in a systematic, effective approach.
Dr. Ara Nazarian maintains a dental practice in Shelby Township, Michigan with an emphasis on comprehensive and restorative care. He is a Diplomate in the International Congress of Oral Implantologists (ICOI) and the director of the Ascend Dental Academy. He has conducted lectures and hands-on workshops on aesthetic materials, grafting, and dental implants throughout the United States, Europe, New Zealand, and Australia.

